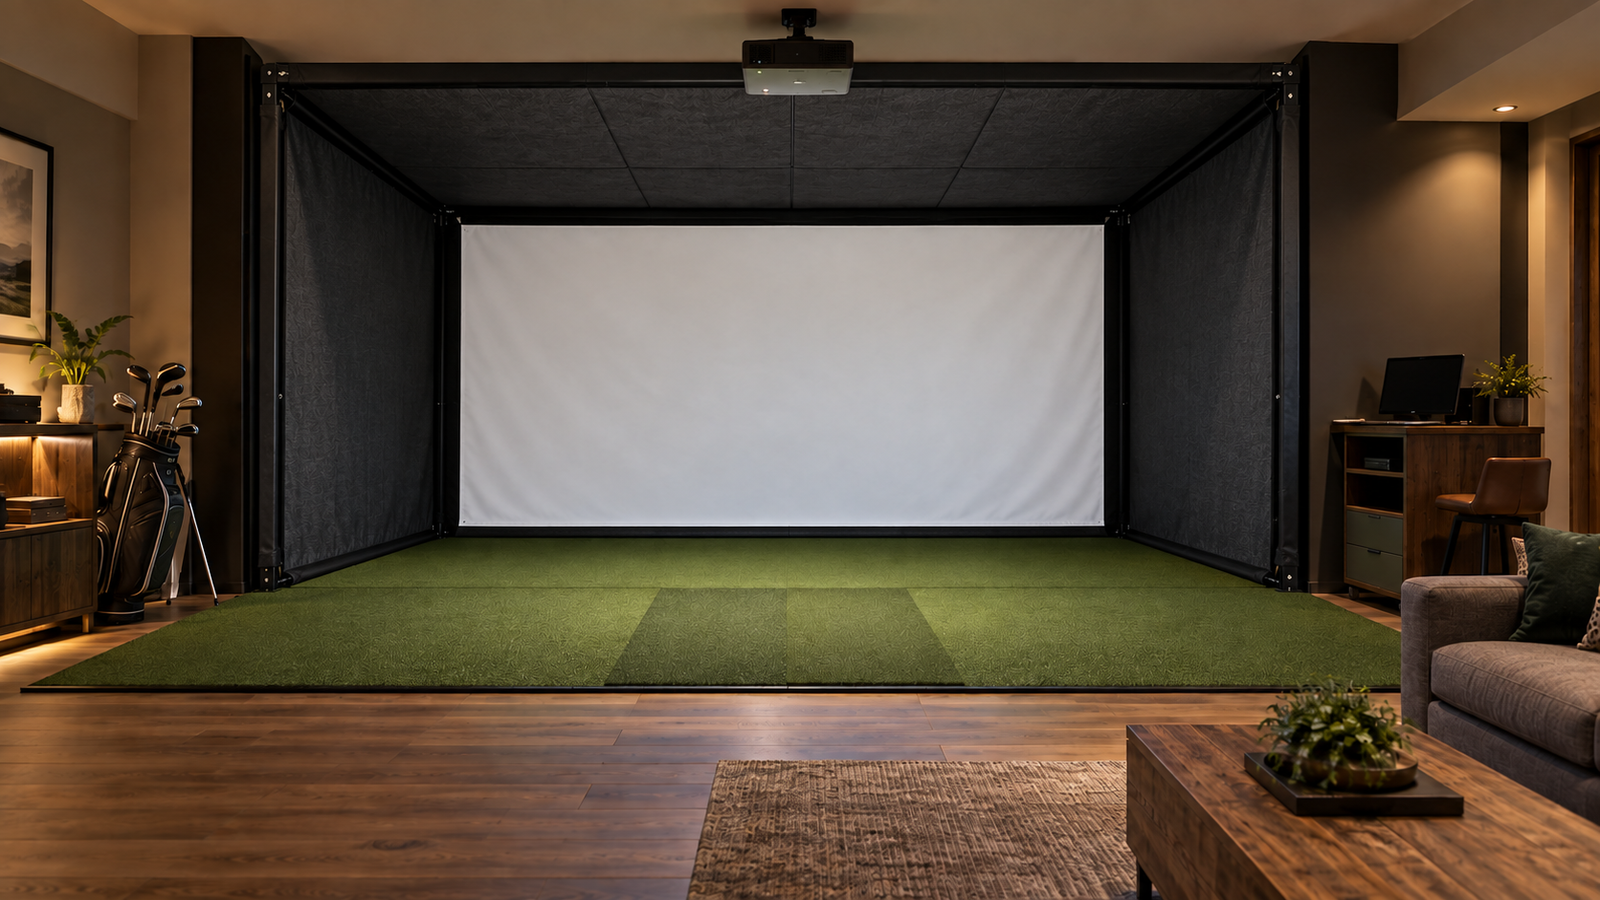
Choosing a Golf Simulator Enclosure
The enclosure defines the hitting area, supports the impact screen, and helps contain missed shots. The right choice must fit the room, match the screen, and provide the coverage your setup actually needs.
Common Enclosure Approaches
The best format depends on whether the room is dedicated to golf, shared with other activities, or expected to change over time.
Frame & Screen
A basic frame-and-screen structure creates a defined target area but may provide limited side and overhead protection. Additional netting, curtains, or padding may be needed around it.
Full Enclosure
A deeper enclosure adds side panels and ceiling coverage to help catch off-center and high shots. It usually creates a more finished appearance in a dedicated simulator room.
Retractable or Movable
Retractable screens, curtains, and movable frames can return a garage or multipurpose room to normal use. They trade some permanence for flexibility and may require more setup each time.
Fit the Outside Dimensions to the Room
Measure the finished room and compare it with the enclosure’s complete outside dimensions—not just the visible screen size.
Width
Include the frame, side fabric, trim, and any mounting hardware. Leave room for safe movement and confirm whether centered or offset hitting will work for the golfers using the space.
Height
Use the lowest ceiling point and account for lights, beams, ducts, garage-door hardware, projector mounts, and any overhead protection extending beyond the frame.
Depth
Enclosure depth affects side protection and projector placement. Also include the required space behind the screen and the hitting distance in front of it.
What to Compare Between Enclosures
Frame & Installation
- Frame material, rigidity, and connection method
- Freestanding, wall-mounted, or ceiling-mounted design
- Assembly space, tools, and installation difficulty
- How exposed frame sections are padded
Screen & Coverage
- Included screen material and mounting method
- Side-panel and ceiling-panel depth
- Required clearance behind the impact screen
- Replacement-screen availability and cost
Daily Use & Maintenance
- Access for cleaning, inspection, and adjustments
- Ability to replace individual damaged components
- Storage needs for movable or retractable pieces
- Room access around and behind the structure
Build Around the Complete Simulator
An enclosure can fit the room and still conflict with another component. Check the entire system against one layout before ordering.
Impact Screen
Confirm the screen size, aspect ratio, mounting method, tension, rear clearance, and whether it is included or purchased separately.
Projector
Make sure the projector can fill the screen from an available mounting position without creating shadows or interfering with the golfer’s swing.
Launch Monitor
Some launch monitors sit beside the ball while others require space behind the golfer. The enclosure and hitting position must preserve that measurement zone.
Mat & Flooring
Plan the hitting strip, stance area, floor height, turf transitions, ball return, and footing before fixing the frame and screen positions.
Before You Choose
- Measure the finished room at several points.
- Test a full driver swing from the proposed hitting position.
- Mark doors, windows, lights, beams, vents, and tracks.
- Confirm the enclosure’s complete outside dimensions.
- Verify screen, projector, and launch-monitor compatibility.
- Identify any protection needed beyond the enclosure.
- Review replacement parts and screen availability.
- Check the installation instructions before ordering.
Continue the Planning Process
After identifying an enclosure style and size, confirm the impact screen, wall and ceiling protection, projector placement, and floor layout that will complete the hitting area.