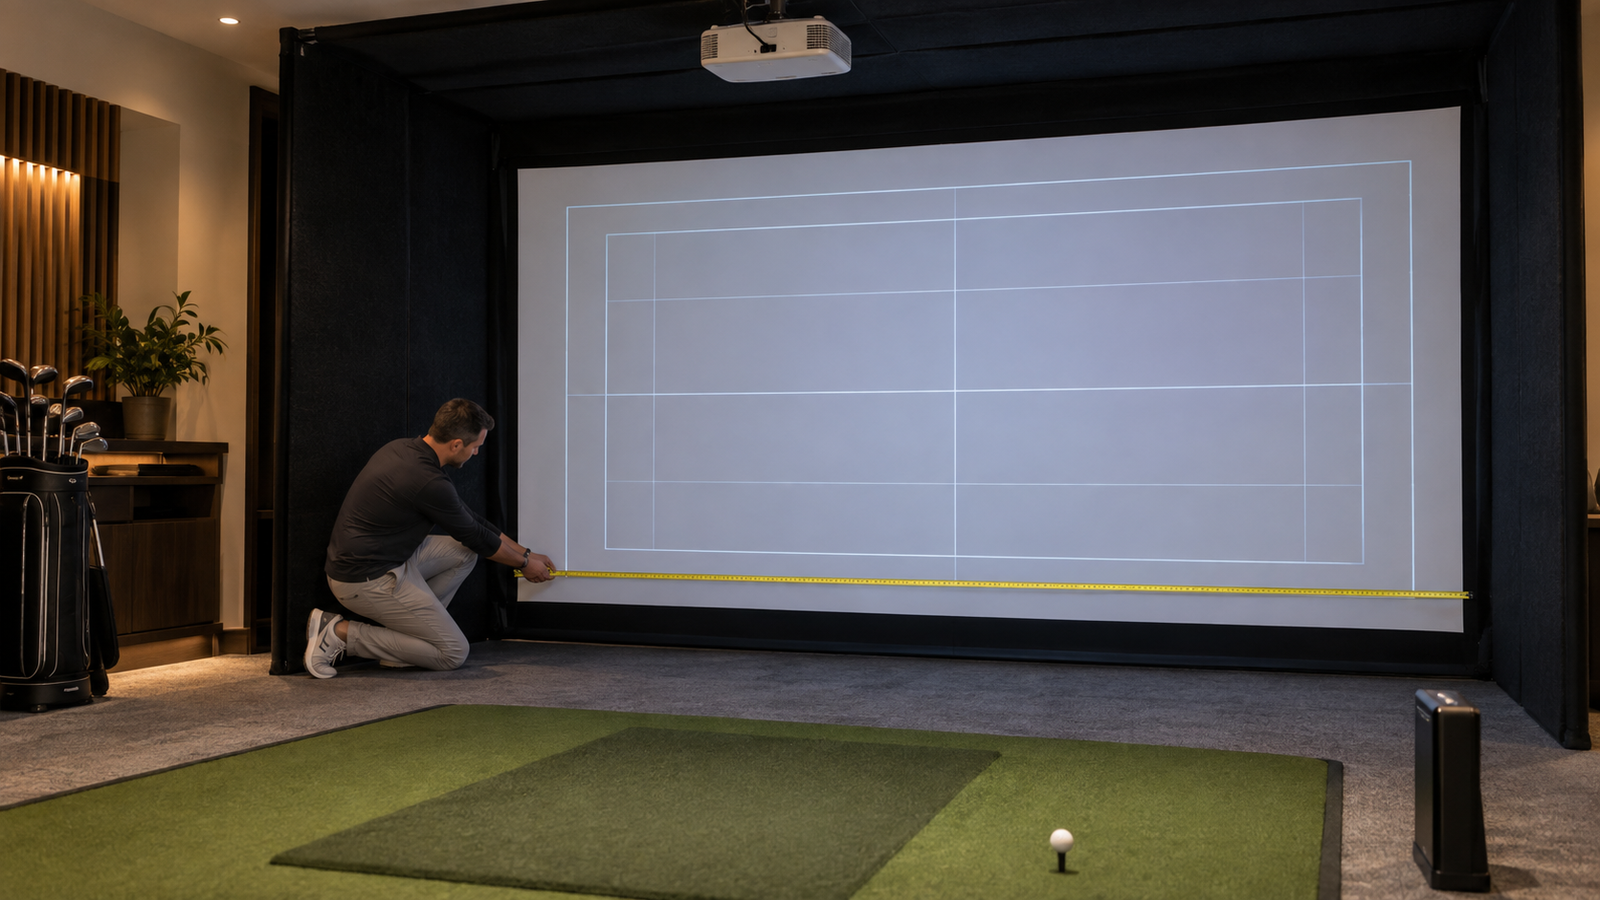
Choosing a Golf Simulator Impact Screen
An impact screen must stop full-speed golf shots, produce a clear projected image, manage noise and rebound, and fit the enclosure correctly. Compare the complete screen system—not only the fabric size.
Four Jobs the Screen Must Do
Absorb Impact
The material and mounting system must withstand repeated ball strikes without tearing, stretching excessively, or transferring too much force to the frame.
Display the Image
A smoother, denser surface generally produces a cleaner projected image. Screen shape and aspect ratio must also match the projector and room.
Manage Rebound & Noise
Screen construction, tension, rear clearance, frame padding, and surrounding materials all affect bounceback and the sound of impact.
Fit the System
The finished dimensions, attachment points, enclosure opening, visible image area, and replacement method must all work together.
Fixed, Premium, or Retractable?
Manufacturers use these terms differently, so compare the actual materials, construction, and installation requirements rather than relying on the label alone.
Standard Fixed Screen
A fixed screen can be a practical choice for moderate use in a dedicated enclosure. Confirm how it is finished, attached, tensioned, and replaced.
Multilayer or Premium Screen
Heavier or multilayer construction may improve image smoothness, durability, sound control, or impact absorption, but performance varies by material and design.
Retractable Screen
A retractable screen can return a garage or multipurpose room to normal use. Check side containment, bottom weighting, tension, roller protection, and setup time.
Size the Screen Around the Room and Projector
Finished Size
Distinguish between the complete screen dimensions and the visible image area. Finished edges, grommets, sleeves, attachment hardware, and overlap can require additional space.
Aspect Ratio
Common projected shapes include 4:3, 16:9, and 16:10. The best option depends on room width and height, projector resolution, and how much of the screen you want the image to fill.
Rear Clearance
The screen needs room to move when struck. Use the manufacturer’s required rear clearance and make sure no wall, frame member, or object can be contacted during impact.
What to Compare Before You Buy
Material & Construction
- Single-layer or multilayer construction
- Surface smoothness and projected-image quality
- Expected use level and impact durability
- Cleaning and maintenance instructions
Edges & Mounting
- Grommets, sleeves, hook-and-loop, or other attachment method
- Included hardware and tensioning components
- Compatibility with the enclosure opening
- Ease of adjustment and replacement
Performance & Support
- Noise and bounceback characteristics
- Recommended rear clearance and tension
- Warranty terms and wear exclusions
- Replacement-screen availability and lead time
Installation Details Matter
- Do not assume tighter is always better; excessive tension can increase rebound and stress attachment points.
- Pad exposed frame members and nearby hard surfaces.
- Maintain the specified clearance behind the screen.
- Confirm the bottom edge cannot create a dangerous gap or hard rebound point.
- Inspect the screen and attachments regularly for wear.
- Test the completed system gradually before using full-speed shots.
Continue the Planning Process
After choosing the screen size and construction, confirm the enclosure, surrounding protection, hitting position, projector placement, and flooring that will support it.