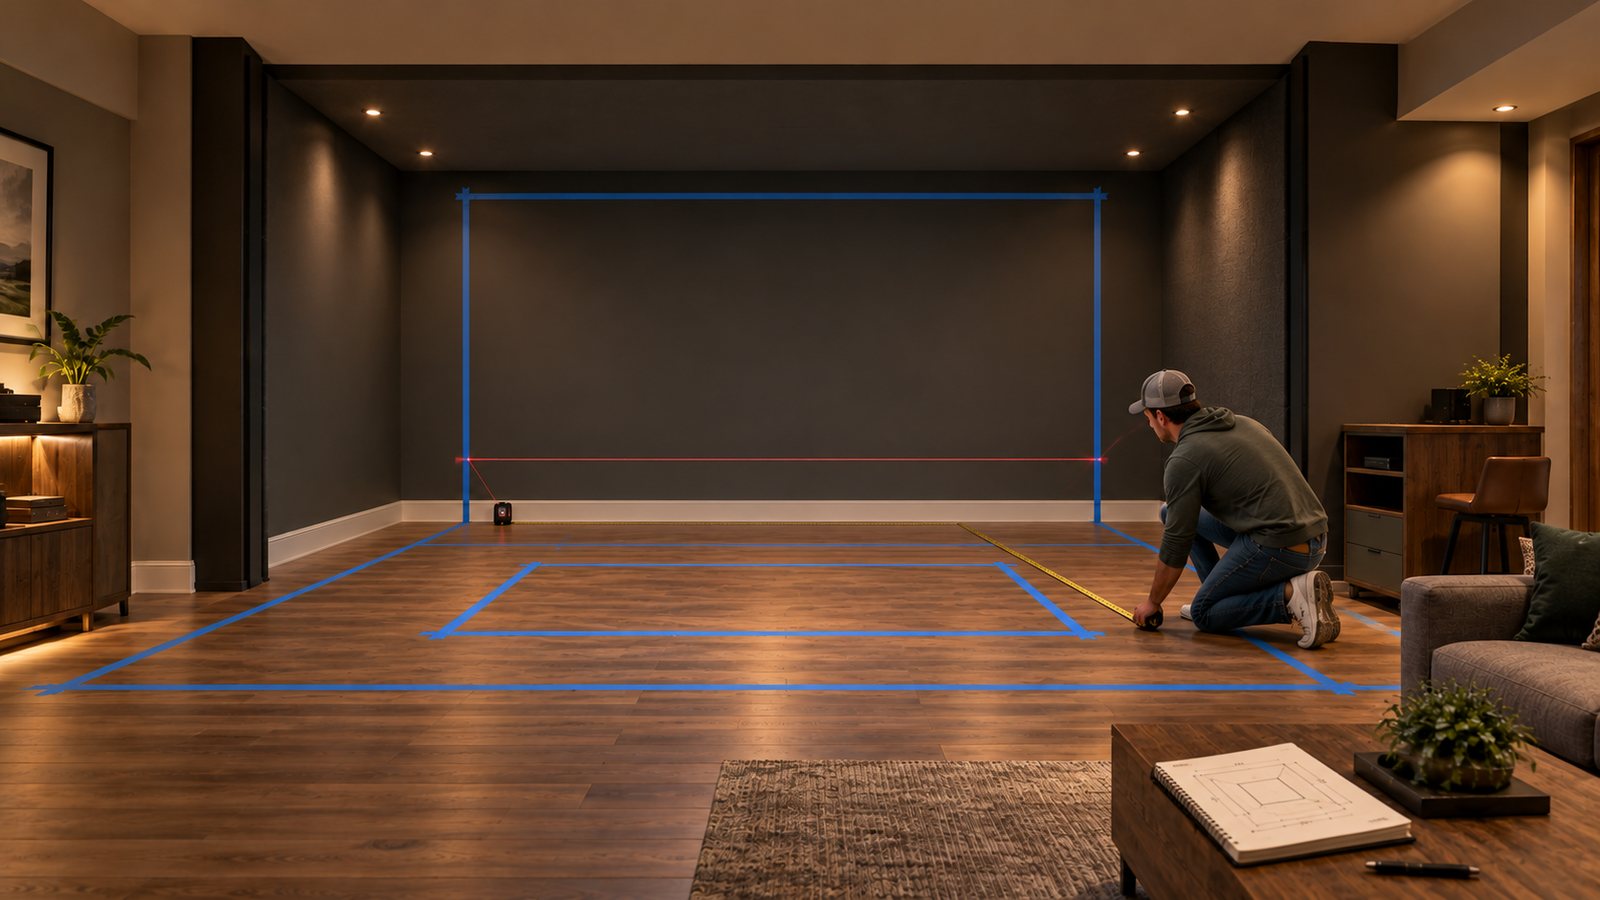
Plan Your Home Golf Simulator Space
A successful simulator starts with the room—not the equipment. Measure the finished space, test your swing, account for every obstruction, and then choose components that fit together.
The Three Measurements That Shape the Project
Use the lowest ceiling point, the narrowest usable width, and the actual clear depth—not just the dimensions shown on a floor plan.
Ceiling Height
Ten feet is comfortable for many golfers, while nine feet may work for some. The only reliable test is making full swings with the longest club you expect to use.
Usable Width
Width affects the enclosure, screen, hitting position, and whether both right- and left-handed golfers can use the room comfortably. Measure at the narrowest point.
Available Depth
Depth must accommodate screen clearance, the hitting position, launch-monitor requirements, safe movement, and any seating or equipment behind the golfer.
A Practical Planning Sequence
- Measure the finished room. Record height, width, and depth at several points, including the lowest and narrowest areas.
- Mark every obstruction. Include doors, windows, beams, lights, fans, vents, garage-door tracks, openers, and built-in storage.
- Test the golfer’s swing. Check the intended hitting position with a driver and allow room for comfortable movement—not just a swing that barely clears.
- Establish the screen and hitting positions. Leave the clearance required behind the screen and enough distance in front to limit bounceback.
- Match equipment to the layout. Confirm the enclosure, launch monitor, projector, computer, hitting mat, and screen can all work within the same plan.
- Plan protection, power, and comfort. Account for wall and ceiling protection, wiring, ventilation, temperature, noise, lighting, flooring, and seating.
Plan for the Room You Are Using
Garage Simulator
Garage-door tracks and openers, sloped concrete, temperature changes, lighting, and shared use can all affect the design. A retractable or movable setup may be useful when the garage still needs to hold a vehicle.
Basement Simulator
Basements often provide controlled temperatures, but ceiling height, beams, ductwork, posts, moisture, sound transmission, and stairway access can limit the practical layout.
What to Measure Before You Shop
- Finished width at the narrowest point
- Ceiling height at the lowest obstruction
- Clear depth from the proposed screen wall
- Doors, windows, beams, lights, fans, and vents
- Garage tracks, openers, and ceiling equipment
- Electrical outlets and possible projector locations
- Space for the mat, monitor, computer, and seating
- Manufacturer-required clearance behind the screen
Avoid Expensive Planning Mistakes
Problems often appear when each component is chosen separately. The screen size affects the projector; the hitting position affects protection and launch-monitor placement; and the enclosure must fit around all of it.
Before ordering anything, check the complete system against one measured layout.
Continue Planning Your Simulator
Once the room is measured and the layout is workable, compare the equipment, screen, protection, flooring, projector, and budget choices that complete the system.