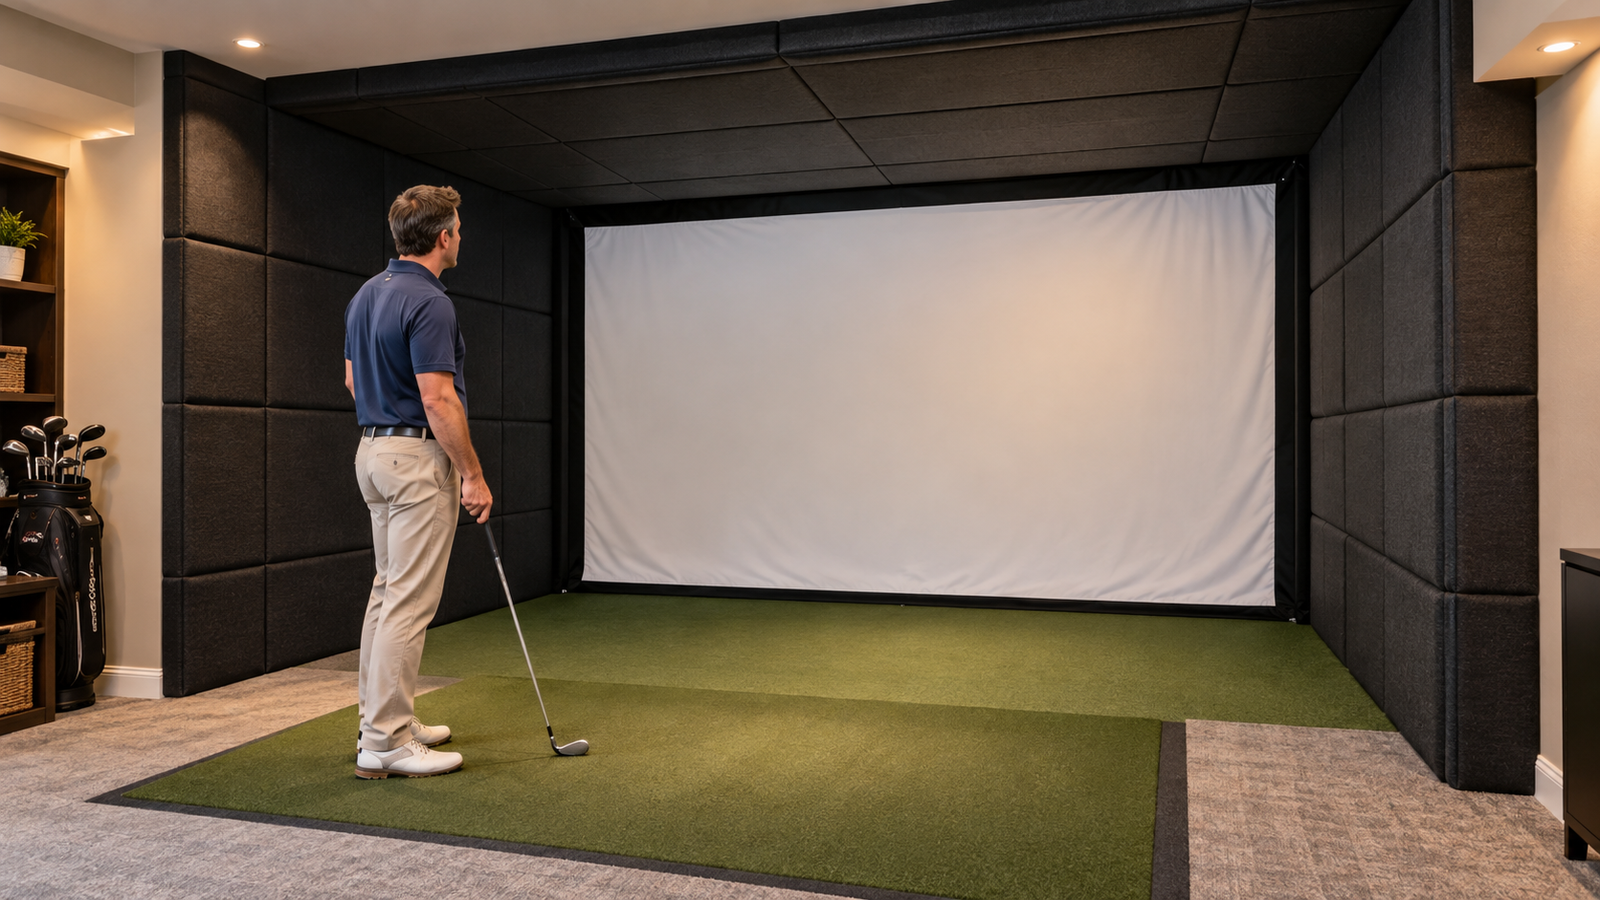
Golf Simulator Wall & Ceiling Protection
Protection around the hitting bay helps contain missed shots, reduce hard rebounds, and protect walls, ceilings, windows, fixtures, and people. Begin with the likely shot paths—not simply the surfaces that are easiest to cover.
Protect the Highest-Risk Areas First
The enclosure may catch most shots, but the room still needs a plan for balls that miss the screen or rebound outside the intended hitting area.
Screen Edges & Front Corners
The areas beside and above the impact screen receive sharp misses. Exposed metal supports or unpadded wall corners can send the ball back toward the golfer.
Side Walls Near the Golfer
Shanks and severe mishits can travel almost sideways. Coverage needs depend on the hitting position, room width, enclosure depth, and whether both right- and left-handed golfers will use the simulator.
Ceiling Above the Hitting Bay
High shots can strike the ceiling in front of the golfer or enter gaps above a shallow enclosure. Lights, beams, ducts, tracks, and projector hardware may need protection or relocation.
Windows, Doors & Equipment
Glass, screens, televisions, computers, launch monitors, and other fragile items may require a physical barrier, a rigid guard, or a position outside the likely shot path.
Common Protection Methods
Padded Wall Panels
Purpose-built padded panels can cushion direct impacts and create a finished appearance. Compare panel thickness, core material, facing, seams, edge treatment, and mounting method.
Curtains or Netting
Properly installed curtains or netting can contain shots while remaining flexible or retractable. They need enough slack and stand-off distance to prevent the ball from reaching the surface behind them.
Ceiling Panels or Baffles
Padded ceiling panels or hanging baffles can cover high-risk overhead areas. Their position must not interfere with the golfer’s swing, projector beam, lights, ventilation, or fire-safety equipment.
Felt & Decorative Coverings
Felt can improve appearance and help conceal seams or minor marks, but thin wall covering alone should not be treated as cushioning for areas likely to receive direct golf-ball impacts.
How Much Coverage Does the Room Need?
Hitting Position
The location of the ball determines the likely angles to the side walls and ceiling. Mark the actual hitting area before deciding where protection begins and ends.
Room Width
A narrow room brings hard side surfaces closer to the golfer and may require protection farther back from the screen than a wider room.
Golfer Handedness
A room used by both right- and left-handed golfers may need a wider protected zone or different hitting position than a setup designed for one golfer.
Experience & Guests
Occasional players, children, and guests can produce a wider range of misses. Plan for the least predictable users—not only the most experienced golfer.
What to Compare Before You Buy
Impact Performance
- Intended use: direct impact, rebound control, or decorative finish
- Padding thickness, density, and surface material
- Coverage of seams, edges, and exposed corners
- Manufacturer installation and use limitations
Mounting & Access
- Permanent adhesive, removable fasteners, tracks, or framing
- Access to outlets, switches, vents, doors, and utilities
- Ability to inspect, clean, repair, or replace sections
- Compatibility with the wall or ceiling substrate
Room Integration
- Projector beam and ceiling-mount clearance
- Lighting, ventilation, sprinklers, and detectors
- Transitions between the enclosure and room protection
- Finished appearance and future room use
Measure Before Ordering
- Measure the height and width of each separate area.
- Mark corners, trim, doors, windows, outlets, and vents.
- Map the likely shot paths from the hitting position.
- Calculate full panels, cuts, seams, and edge pieces.
- Allow for mounting tracks, backing, or stand-off space.
- Confirm how protected sections meet the enclosure.
- Plan access for future inspection and replacement.
- Follow product and building-safety instructions.
Continue the Planning Process
Wall and ceiling protection should connect cleanly with the enclosure, impact screen, hitting position, flooring, projector, and other room components.