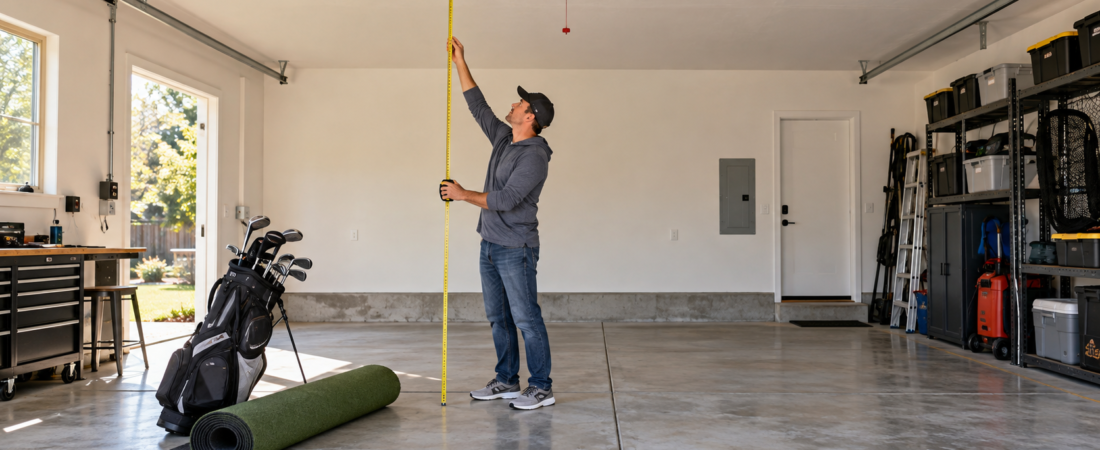
A garage can be one of the most practical places to build a home golf simulator. It often provides more open floor space than a spare room, keeps golf noise away from the main living area, and may allow either a permanent or retractable installation.
Garages also create challenges that don’t always show up in a finished indoor room. Door tracks, openers, sloped floors, temperature changes, storage, windows, and limited lighting can all affect the simulator’s safety and performance.
Before buying an enclosure or launch monitor, measure the garage as it is and decide whether the space will still be usable for vehicles or other activities. A successful garage simulator begins with a layout that accounts for both the golf equipment and the garage itself.
Measure the Usable Garage Space
For many garage simulators, a ceiling height of 9 to 10 feet, a width of approximately 10 to 15 feet, and a depth of 15 to 20 feet provide a useful planning range. The actual requirements depend on the golfer, enclosure, launch monitor, and whether both right- and left-handed players will use the space.
Measure to the lowest obstruction, not the main ceiling. Garage-door tracks, openers, support beams, lights, shelving, and hanging storage can reduce the height and width available for the swing.
Mark the proposed screen, ball, and golfer positions on the floor. Confirm that the longest club can be swung comfortably and that enough room remains behind the golfer for the launch monitor, seating, storage, or safe movement through the garage.
Check the Garage Door and Opener
The garage door is often the largest obstacle in a simulator conversion. Standard horizontal tracks and a ceiling-mounted opener can extend directly through the area needed for the enclosure, projector, overhead launch monitor, or golf swing.
Test the layout with the garage door both open and closed. A space that appears clear with the door lowered may become unusable when the door is raised.
Some homeowners have garage-door tracks raised closer to the ceiling or replace a conventional opener with a wall-mounted model. Any change to the door, tracks, springs, or opener should be performed by a qualified garage-door professional.
Decide Between a Permanent and Retractable Setup
A permanent enclosure can provide consistent alignment, dependable ball containment, and a more finished simulator experience. It is usually the better choice when the garage will be dedicated primarily to golf.
A retractable impact screen or movable enclosure may be more practical when the garage must continue to accommodate vehicles, tools, or household storage. You can deploy the screen and side protection for golf and move them out of the way afterward.
A flexible system still requires a repeatable hitting position. Marking the mat, launch monitor, and projector alignment can reduce the need to recalibrate or reposition the simulator each time you use it.
Protect the Walls, Ceiling, and Windows
An impact screen protects the main target area, but it won’t catch every possible shot. Side barriers, ceiling protection, and padding around the enclosure can help control shanks, high wedges, ricochets, and shots that miss the center of the screen.
Garage windows, door panels, concrete walls, exposed framing, and stored equipment may require additional protection. Hard surfaces can damage golf balls and create unpredictable rebounds.
Protective coverage should extend far enough into the room for the planned hitting distance. The farther the golfer stands from the screen, the more opportunity an angled or high-launch shot has to travel outside the main screen area.
Account for a Sloped or Uneven Floor
Many garage floors are intentionally sloped toward the door to drain water. Even a modest slope can affect the golfer’s stance, the stability of the hitting mat, and the accuracy of putting.
Use a level to check the proposed hitting area rather than relying on appearance. A stable platform or properly constructed subfloor may be needed to create a level surface beneath the mat and surrounding turf.
Any platform should remain solid under repeated swings and should not create an unexpected step or trip hazard. If putting is part of the simulator experience, also evaluate the transition between the hitting area and the screen carefully.
Plan the Projector and Lighting
Garage lighting is often designed for general utility rather than a projected image. Bright overhead fixtures, windows, and daylight entering through the garage door can wash out the screen and reduce image contrast.
Position lights to illuminate the golfer and walking areas without shining directly on the impact screen or into the launch monitor’s cameras. Windows may need shades or other light control during daytime use.
The projector must match the screen size and available mounting distance. It should be placed outside the swing and ball paths and avoid shadows cast by the golfer.
Consider Temperature and Moisture
An unfinished garage may experience much larger swings in temperature and humidity than the home’s interior. Those conditions can affect golfer comfort and the long-term reliability of the computer, projector, launch monitor, and other electronics.
Check each electronic component’s manufacturer’s operating and storage requirements. Avoid exposing equipment to condensation, water intrusion, or temperatures outside its approved range.
Insulation, ventilation, and properly installed heating or cooling can make the simulator usable year-round. Any permanent climate-control or electrical work should comply with local requirements and be completed by qualified professionals where appropriate.
Confirm Power and Internet Access
A simulator may need power for the launch monitor, projector, computer, display, lighting, and optional accessories. Confirm that outlets are conveniently located and that cords will not cross the golfer’s stance, walking paths, or vehicle area.
Avoid building the installation around temporary extension cords. If you need additional outlets or circuits, have an electrician evaluate the electrical requirements before installing the enclosure and wall protection.
A stable internet connection may also be required for software activation, updates, online play, and cloud-based features. Test the garage connection before assuming the home’s existing Wi-Fi signal will be sufficient.
Plan for Storage and Shared Use
Golf clubs, balls, computers, tools, lawn equipment, and household storage can quickly compete for the same garage space. Keep shelves and cabinets outside the swing area and away from realistic ball and rebound paths.
If vehicles will continue using the garage, establish a repeatable process to deploy and store the screen, mat, barriers, and electronics. Ensure nothing can be driven over, struck by a door, or exposed to water brought in by a vehicle.
The simulator should also be kept separate from automotive hazards. Never operate a vehicle engine in an enclosed garage while the space is occupied.
The Bottom Line
A garage can be an excellent home for a golf simulator when you plan the installation around its actual dimensions, obstructions, and everyday use. The most important early checks are swing clearance, garage-door operation, floor level, protective coverage, and equipment requirements.
Decide whether the simulator will be permanent or retractable before selecting the enclosure and impact screen. Then plan the launch monitor, projector, lighting, power, climate control, and storage around that decision.
A garage simulator doesn’t need to resemble a finished indoor room, but every component should have a safe, dependable place. Careful planning makes the space easier to use, protects the equipment, and reduces the likelihood of expensive changes after installation.